 Eniola Oloyede
What to Bring to US Visa Interview B1/B2: A Mistake You Can’t Afford to Make!
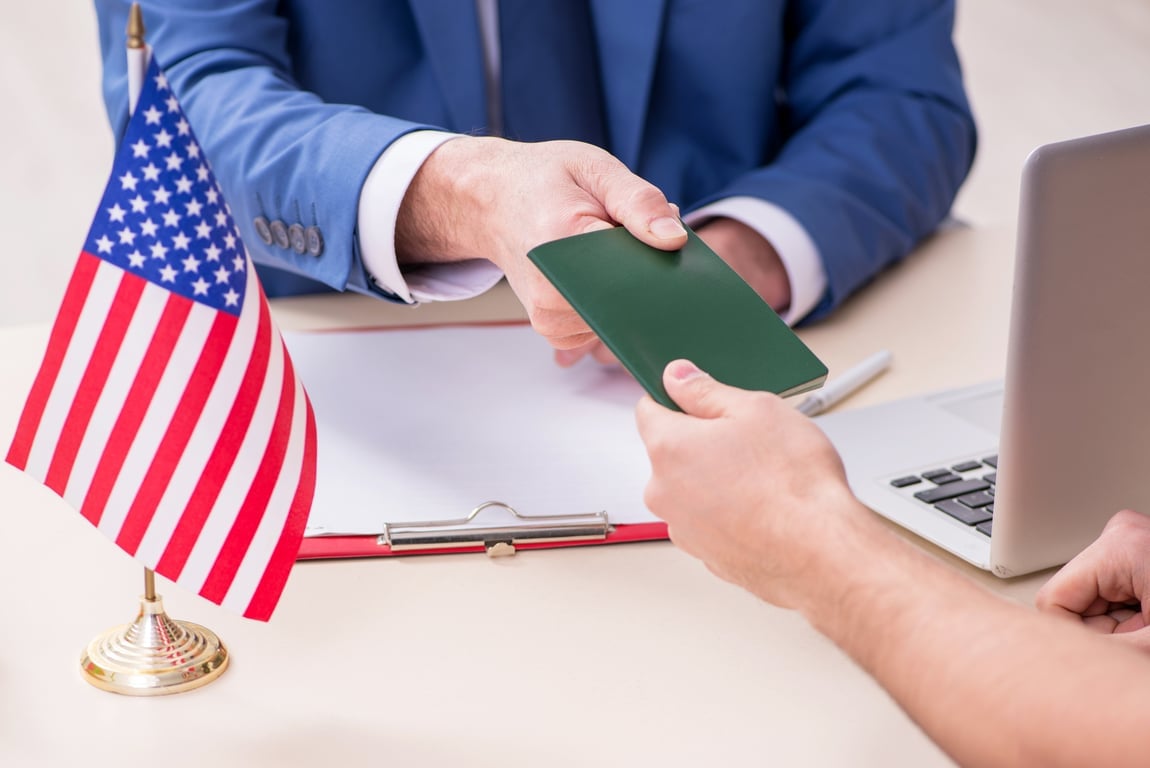
Preparing for your US B1/B2 visa interview is more than just checking off boxes; it’s the defining moment that can make or break your journey to the United States. What to bring to your US visa interview B1/B2 isn’t just a list of papers; it’s your ticket to a future full of opportunities. Imagine walking into that embassy, confident that everything is in place, or facing the crushing disappointment of a rejected application because you forgot one crucial document.
This guide will walk you through exactly what you need to bring to ensure your interview is a success. We’ll break down the essentials and show you how Veripass, our trusted immigration partner, can help you streamline the process and avoid costly mistakes. Ready to get your visa approved? Let’s dive in.
Read Also: Immigrants-and-the-Visa-Backlog-Problem
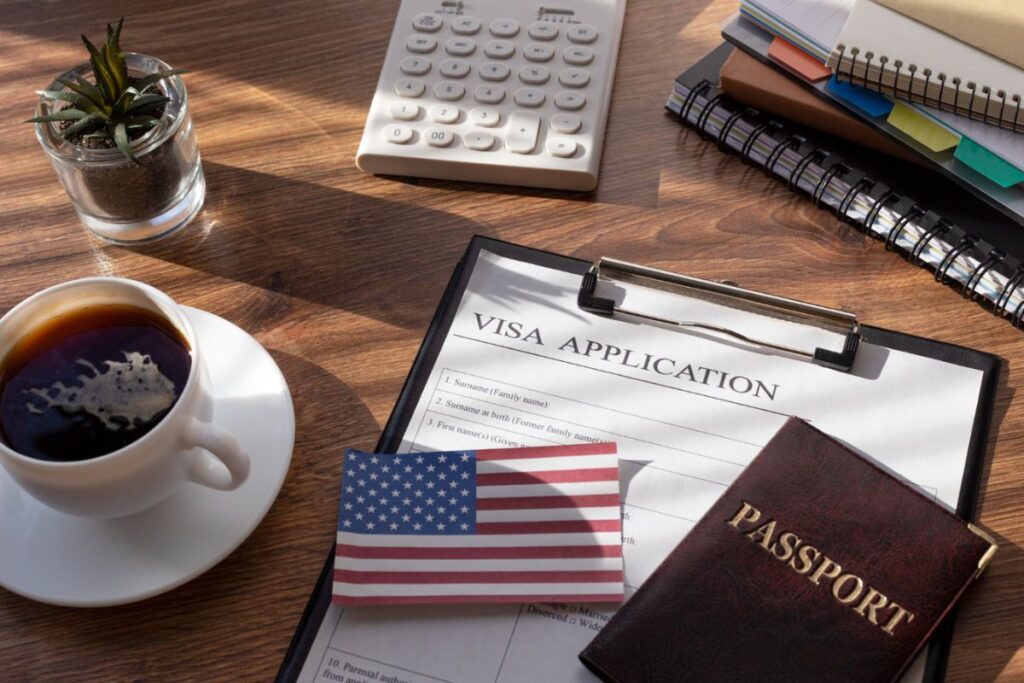
What to Bring to US Visa Interview B1/B2: Essential Documents You Can’t Miss
When you step into the U.S. embassy or consulate for your B1/B2 visa interview, you’ll want to be prepared. The documents you bring help prove that you meet all of the necessary criteria for visa approval. Here’s a detailed breakdown of what to bring to your US visa interview B1/B2:
1. Mandatory Documents You Must Have
These are the non-negotiable documents required for every applicant:
- Valid Passport
- Your passport should be valid for at least six months beyond your planned departure date from the United States.
- Bring any old passports with you, as they provide your travel history, which can be valuable during the interview.
- DS-160 Confirmation Page
- After completing your DS-160 form online, you’ll need to print out the confirmation page, which includes a barcode. This is crucial for tracking your application.
- Visa Appointment Confirmation Letter
- This document proves that you’ve scheduled your visa interview. You’ll receive it after booking your appointment on the official U.S. Visa Information and Appointment Services website.
- Recent Photograph
- You’ll need one recent passport-sized photo that meets U.S. visa requirements (2×2 inches, white background, no glasses, neutral expression).
- If you uploaded a digital photo during the DS-160 process, bring a printed copy just in case the online upload doesn’t meet the standards.
2. Supporting Documents That Strengthen Your Case
In addition to the mandatory documents, these supporting materials can help boost your visa application:
- Proof of Financial Stability
- Bank statements for the last six months showing you have the funds to cover your trip.
- Income Tax Returns (ITR) from the last 2–3 years, if applicable.
- Property ownership documents or fixed deposit receipts.
- Employment or Business Documents
- For employees: A letter from your employer that confirms your position, salary, and approved leave.
- For business owners: Documents like company registration and business financial statements.
- Proof of Purpose of Visit
- For Business (B1): An invitation letter from the U.S. company you’ll be visiting, conference registration details, or meeting schedules.
- For Tourism/Family Visits (B2): A travel itinerary, hotel bookings, and/or an invitation letter from family or friends in the U.S.
- Proof of Strong Ties to India
- Family documents, such as marriage certificates or birth certificates of children.
- Evidence of ongoing employment, education, or business ties to India.
- Property ownership documents or lease agreements in India.

3. What to Do If You Don’t Have All the Documents
Sometimes, life doesn’t go as planned. You may find yourself missing a document you thought was required for your B1/B2 visa interview. Don’t worry! Here’s what you can do:
- Missing Documents: If you don’t have a required document, let the consular officer know immediately. You may be given the chance to submit the document after the interview, especially if it’s not crucial to the decision.
- Don’t Panic: If something’s missing, being prepared to explain why can show that you’re serious about following the rules, even if a mistake happened.
What to Bring to US Visa Interview B1/B2: Extra Tips for a Smooth Process
Now that you know what to bring to the US visa interview B1/B2, here’s what else you should expect:
4. The Interview Process: Be Ready to Talk
The interview itself is one of the most important parts of your B1/B2 visa application. Here’s what to expect:
- Consular Officer’s Questions: You’ll be asked questions about your trip, your ties to your home country, and your financial situation. The officer will want to know:
- Why you are visiting the U.S
- How you’ll support yourself while in the U.S.
- Whether you plan to return to India after your trip.
- How to Answer: Stay calm and answer clearly. The goal is to show that you meet all the necessary visa requirements and that you intend to return to India after your visit.
5. Security Rules at the Embassy or Consulate
Before you head out, make sure you’re following security rules. The U.S. embassy has strict guidelines about what you can and can’t bring into the building.
- What to Leave Behind:
- Electronics: Leave your mobile phones, laptops, and tablets at home. These are not allowed inside the embassy.
- Large Bags or Backpacks: Bring only a small folder or document pouch with your paperwork.
- Prohibited Items:
- No liquids, lighters, or matches.
- Don’t bring prohibited items, as they can delay your interview or even cause you to be turned away.
How Veripass Can Help You with Your B1/B2 Visa Interview Preparation
You’ve learned what to bring to the US visa interview B1/B2, but what if you want more support as you navigate the visa process?
Veripass is here to streamline your visa application process and guide you every step of the way. Here’s how:
- Expert Guidance: With Veripass, you gain access to immigration experts who can provide personalized advice on everything from document preparation to navigating tricky visa interview questions.
- Document Checklist and Preparation: We’ll help you organize and track all the documents you need, ensuring that nothing slips through the cracks. Our experts make sure your documentation is complete and correct before you step into the interview.
- Visa Strategy Consultation: Veripass also specializes in helping those looking to transition from B1/B2 to more advanced visa categories, such as the O-1 or EB-2 visa. If you’re planning to build your future in the U.S., we’ll make sure you’re ready to take the next step toward long-term immigration.
Make Your US Visa Interview B1/B2 a Success with Veripass
Now that you know what to bring to your US visa interview, B1/B2, take the next step in your visa process with confidence. Having the right documents is just one piece of the puzzle; being fully prepared for the interview is key to getting your visa approved.
At Veripass, we’re committed to helping you with all aspects of your U.S. visa application process, from document organization to visa strategy. Let us guide you through the process so you can focus on your long-term goals in the U.S.
Get Started with Veripass Today
Are you ready to take the stress out of your B1/B2 visa application and start planning your future in the United States? Veripass is here to help.
Click below to book a consultation with our team of experts and get started on your path to U.S. visa success!
Final Thoughts: Your Path to a Successful US Visa Interview
In summary, knowing what to bring to your US visa interview, B1/B2, is crucial for success. With the right documents, preparation, and guidance, you’ll be ready to confidently step into your interview.
If you need personalized support, Veripass is here to guide you through the entire visa process, ensuring that you’re set up for success. Whether you’re applying for a B1/B2 visa, planning for an O-1 or EB-2 visa, or looking for long-term immigration support, Veripass is your trusted partner.
Ready to get started? Take this free assessment.
What documents do I need for a US visa interview in Nigeria?
To attend a US visa interview in Nigeria, you’ll need the following documents:
1. Valid Passport: Ensure your passport is valid for at least six months beyond your intended stay in the U.S.
2. DS-160 Confirmation Page: After completing the online DS-160 form, print out the confirmation page with the barcode.
3. Visa Appointment Confirmation: A printed confirmation of your appointment through the U.S. Visa Information and Appointment Services website.
4. Visa-compliant Photograph: A recent passport-size photo that meets U.S. visa requirements (2×2 inches, white background, no glasses, neutral expression).
5. Visa Application Fee Receipt: Proof of payment for the visa application fee (if required).
In addition to the above, supporting documents such as financial proof, employment verification, or travel itinerary may be necessary, depending on the type of visa (B1 or B2) you’re applying for.
What documents do I need to carry while traveling to the US on B2?
When traveling to the U.S. on a B2 Tourist Visa, ensure you have:
1. Valid Passport: Make sure it’s valid for at least six months beyond your return date.
2. Visa Approval: The visa is stamped in your passport.
3. Travel Itinerary: A detailed travel plan, including your flight bookings and accommodation details in the U.S.
4. Financial Documents: Bank statements, tax returns, and proof of funds to show you can support your trip without needing to work in the U.S.
5. Invitation Letter (if applicable): If you’re visiting family or friends, bring an invitation letter from your host in the U.S.
6. Proof of Ties to Home Country: Documents such as employment letters, property deeds, or family records to prove your intent to return to Nigeria after your visit.
Keep these documents easily accessible when you arrive in the U.S., as customs officials may ask for them.
How can I increase my chances of getting a B1/B2 visa?
To increase your chances of receiving a B1/B2 visa, follow these tips:
1. Complete Your DS-160 Form Accurately: Ensure all information is correct, as errors can delay or impact your application.
2. Provide Clear Financial Proof: Show sufficient financial resources to support yourself during your stay in the U.S. Provide bank statements, tax returns, and investment documents.
3. Demonstrate Strong Ties to Your Home Country: Prove you have reasons to return after your trip, such as a job, family, or property in Nigeria. Strong ties are crucial for convincing the consular officer of your intent to return.
4. Be Honest During the Interview: Answer all questions truthfully and confidently. Avoid providing inconsistent or false information.
5. Have a Solid Travel Plan: Bring a clear itinerary and explain the purpose of your visit, whether it’s for business, tourism, or family visits.
6. Prepare for the Interview: Be calm and composed. Be ready to explain why you’re traveling to the U.S. and how you plan to finance your trip.
What to carry for a US visa interview?
For your US visa interview, make sure to carry:
1. Passport (valid for at least six months).
2. DS-160 Confirmation Page with the barcode.
3. Visa Appointment Confirmation Letter.
4. Photographs (one recent passport-size photo, meeting U.S. requirements).
5. Visa Application Fee Receipt (if applicable).
6. Proof of Financial Stability: Bank statements, income tax returns, or property documents.
7. Proof of Employment or Business: Employment verification letters, salary slips, or business documents.
8. Proof of Purpose of Visit: Invitation letters, conference registration, travel itinerary, etc.
These documents will help demonstrate your eligibility and support your visa application. Being prepared and having everything ready can significantly boost your chances of approval.